



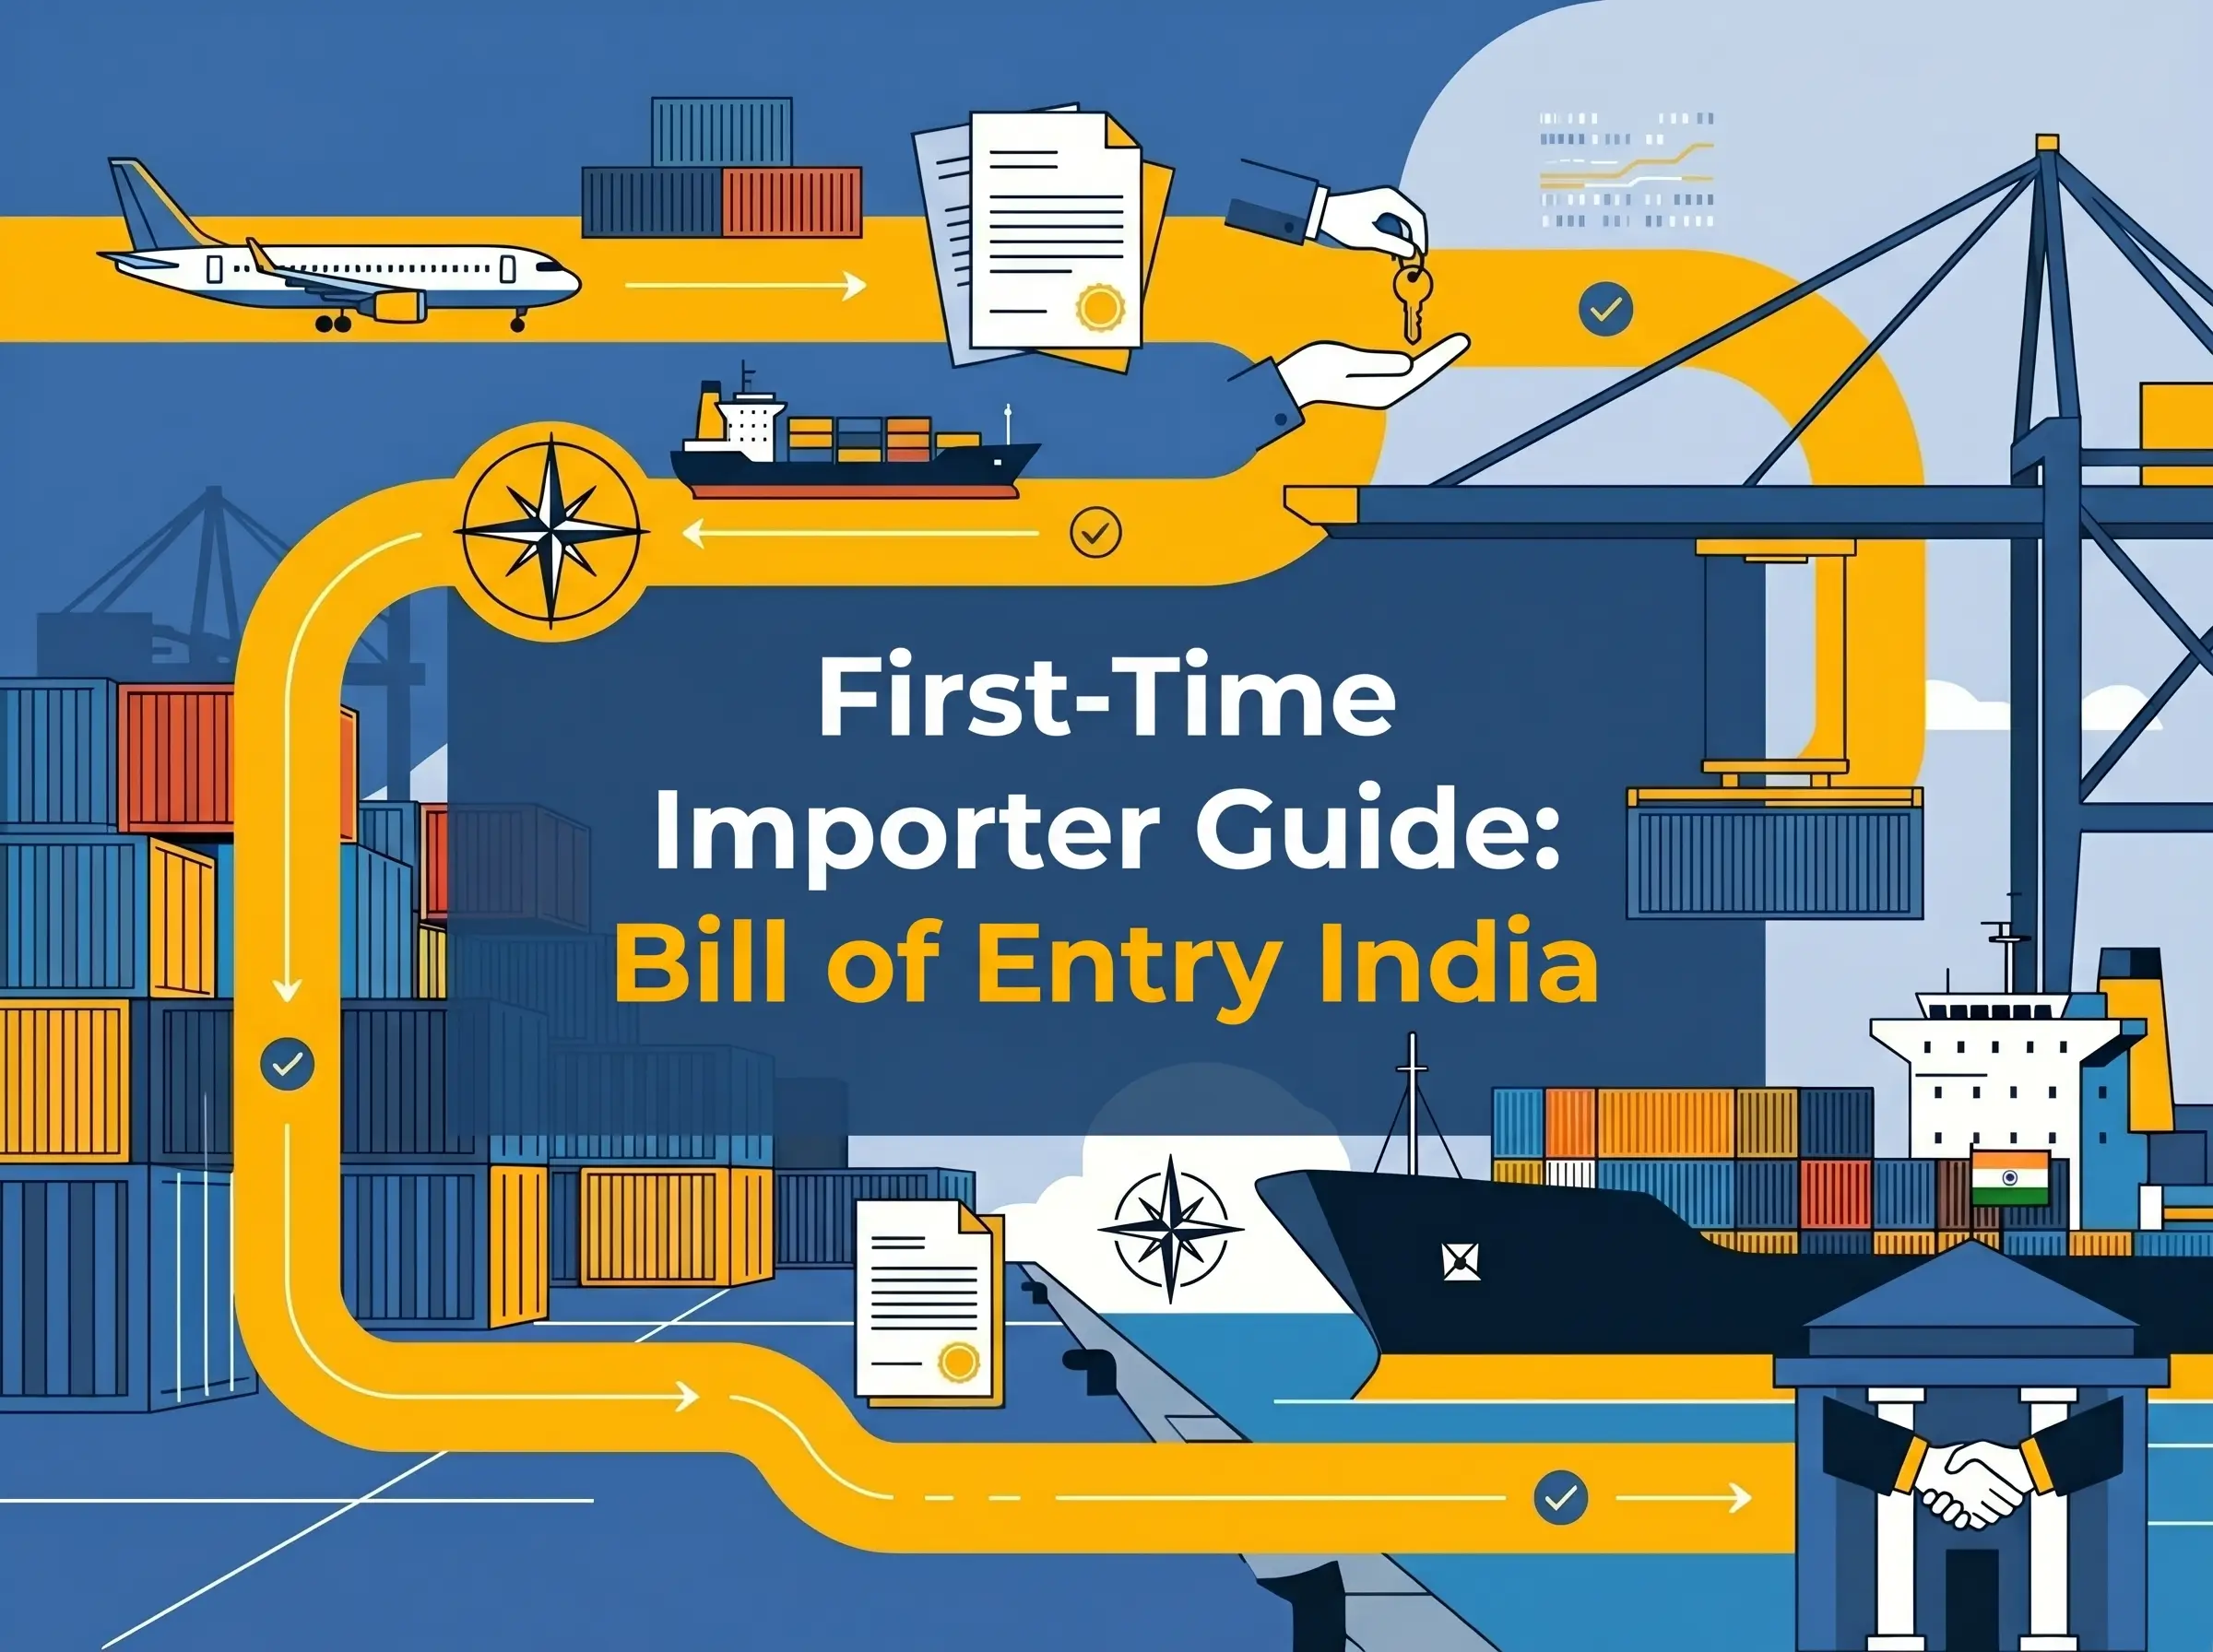
Importing goods into India for the first time involves more steps than most people expect — from registrations you need before anything moves, to the actual bill of entry filing when goods arrive. This complete checklist walks you through every step in order.
The 5 Phases of a First Import into India
- Pre-import registrations (IEC, GSTIN, AD Code)
- Supplier and product due diligence
- Shipment documentation
- Customs clearance (bill of entry filing)
- Post-clearance compliance (GST, records)
Phase 1 — Pre-Import Registrations (Do This First)
1.1 Import Export Code (IEC)
The IEC is a 10-digit code issued by DGFT (Directorate General of Foreign Trade) — it is mandatory for every importer into India. Without an IEC, customs will not register your BoE.
- Apply at: dgft.gov.in
- Required documents: PAN card, Aadhaar, bank account details, business address proof
- Cost: ₹500 (online)
- Processing time: Usually issued within 1–2 working days
1.2 GST Registration (GSTIN)
If your business is GST-registered (which it should be if you are importing for business use), your GSTIN must appear on the bill of entry to claim ITC on the IGST paid. Ensure your GSTIN is active and the same state/entity matches the import.
1.3 AD Code Registration
An Authorized Dealer (AD) Code is a 14-digit code assigned by your bank for foreign exchange transactions. It must be registered at the customs port where you will import. Your bank's forex department handles this.
- Typically takes 3–5 working days to register at the port
- Each bank branch has one AD code — your forex account and port must match
1.4 ICEGATE Registration (Optional for Self-Filers)
If you plan to file your own BoE (without a CHA), register on ICEGATE with your IEC, PAN, and a valid Digital Signature Certificate (DSC). If you are using a CHA, they have their own ICEGATE access.
Phase 2 — Before Goods Leave the Supplier
Confirm Documents With Your Supplier
| Document | Purpose | Mistakes to Avoid |
|---|---|---|
| Commercial Invoice | Customs value basis, GST evidence | Wrong GSTIN, wrong IEC, wrong HS code |
| Packing List | Weight, dimensions, quantity per package | Quantity mismatch with invoice |
| Bill of Lading / AWB | Shipping contract, title document | Wrong consignee name or GSTIN |
| Certificate of Origin | For FTA preferential duty claims | Not getting CoO before shipment departs |
| Insurance Certificate | Required for CIF calculation | Missing = customs estimates insurance |
Calculate Your Approximate Duty Liability
Before goods arrive, calculate your expected duty so funds are ready. Use the formula:
Assessable Value (AV) = CIF value + 1% landing charges
BCD = AV × Basic Customs Duty %
SWS = BCD × 10%
IGST = (AV + BCD + SWS) × IGST %
Total Duty = BCD + SWS + IGST
Check the BCD rate for your HS code at the CBIC tariff schedule or use our bill of entry format guide.
Phase 3 — Appoint a CHA (Strongly Recommended for First Imports)
For your first import, appoint a licensed Customs House Agent (CHA) at the destination port. Provide them:
- Your IEC certificate
- GSTIN
- AD Code confirmation
- All supplier documents (invoice, packing list, BL/AWB, CoO)
- Written authorization / Power of Attorney
The CHA will file the bill of entry, respond to customs queries, arrange examination (if ordered), pay duty (you transfer funds), and coordinate with the port for release.
Phase 4 — The Bill of Entry Filing Process
- CHA files the BoE on ICEGATE with all shipment data
- RMS processes the BoE — assigns a channel: Green (automatic clearance), Yellow (document check), Red (physical examination)
- Duty is assessed — Green Channel goes straight to duty payment; Yellow/Red require officer review first
- Duty is paid — electronically through ICEGATE / NEFT / RTGS
- Out of Charge order issued — customs authorizes release
- Goods released from port/CFS/airport cargo terminal
Phase 5 — Post-Clearance Actions
- Download the BoE PDF from ICEGATE for your records
- Match the BoE with GSTR-2B and claim IGST as ITC in your next GSTR-3B
- File GSTR-1 if you are selling the imported goods
- If you have an Advance Authorization or EPCG license, record the BoE number for license utilization and future redemption
- Store all documents for 5+ years
Checklist: First Import Ready?
| Item | Done? |
|---|---|
| IEC obtained from DGFT | ☐ |
| GSTIN active and matches import entity | ☐ |
| AD Code registered at destination port | ☐ |
| CHA appointed with Power of Attorney | ☐ |
| Commercial invoice received with IEC and GSTIN | ☐ |
| Packing list received and verified | ☐ |
| BL / AWB received from freight forwarder | ☐ |
| Certificate of Origin obtained (if FTA applicable) | ☐ |
| Duty funds arranged | ☐ |
| Import license obtained (if goods are regulated) | ☐ |
Frequently Asked Questions
Can I import goods before getting an IEC?
No. IEC is mandatory for every import into India (with very limited exceptions for personal imports below certain thresholds). Apply for IEC before placing the purchase order with your foreign supplier.
What is the minimum import value that needs a bill of entry?
All commercial imports require a bill of entry regardless of value. For personal imports (courier/post), goods below ₹5,000 CIF value are exempt from duty but may still need a simplified declaration. Above ₹1 lakh (courier) or any commercial import requires a formal BoE.
How long does the first import take from port to delivery?
Green Channel sea freight: 2–4 days after vessel arrival. Red Channel: 5–10 days. Air freight: 1–3 days. These timelines assume documents are in order and duty funds are ready.
Related: What is a bill of entry? · How to file a bill of entry · CHA vs self-filing · Documents required · India customs hub
Comments (0)
No comments yet. Be the first to share your thoughts!
Leave a comment
Your comment will appear after it's reviewed. Your email is never shown publicly.